Network troubleshooting for Azure Functions
How to troubleshoot Networking in Azure Functions
Geez, what an experience this has been! It all started with an .NET azure function not being able to login into an on-premises SQL Server due to TLS negotiation. Now what?
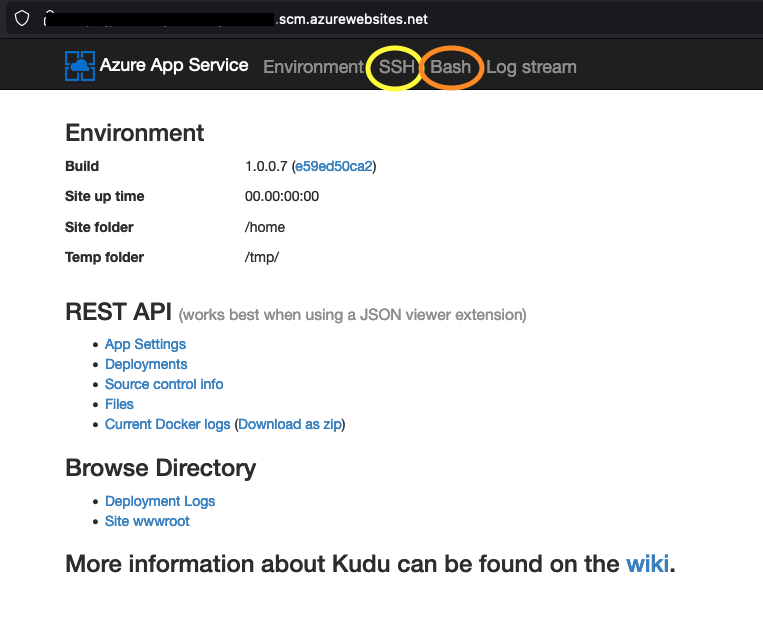
In order to understand if the function is able to reach the on-premises server, I learned that we can get into the running container by ssh/bash whilst using the Kudu service. Kudu is the engine behind a number of features in Azure App Service . In order to access Kudu, we need to inject the word "scm" between the app-name and the azurewebsites.net For eg: https://app-name.scm.azurewebsites.net. There´s also an easier way to get to Kudu by visiting the Azure Function blade and then Development Tools -> Advanced Tools.

Once I was in the SSH shell, I realized the hard that PING was not available. Apparently this a measure to prevent DDos attacks. Luckily I found an article explaining that theres another tooling available for pinging over TCP, say hello to tcpping.
In order for us to be able to use tcpping, we need to install first with the following steps:
Getting tcpping available
1 apt-get update
2 apt install tcptraceroute
3 cd /usr/bin
4 wget http://www.vdberg.org/~richard/tcpping
5 chmod 755 tcpping
6 apt instal bc
Now we are good to run a ping over the port 1433 like such:
1tcpping **site.domain.com** 1433
And then I was able to get something like this:
Okay, we can reach the target but still no luck, what now?
Network capture for the rescue!
In order to capture a network capture, we need to get the tcpdump tooling installed on the ssh shell. For that, follow the following steps
1 apt-get update
2 apt install tcpdump
All of these packages being installed are not persistent. If the function is stopped/restarted, they will be deleted.
Now that we have tcpdump installed, we can use it to create a pcap file that we can then analyze it with Wireshark.
1# List all the network interfaces available
2tcpdump -D
3#Usually we will be after the network interface starting with vnet\*
4tcpdump **-i** vnet**xxxx** **-w** output_file_name.pcap
Once I was done with my test scenario, I stopped the trace with Control + C and the file got generated.
Now, the interesting part, how do you extract the file into your machine? This might sound a bit lame, but the way I did was by moving the file into the home directory and then trying to reach the file through the API as that would start the download of the file, as such:
Downloading the file to my machine
1 mv output_file_name /home
Now Visit https://app-name.scm.azurewebsites.net/api/vfs/output-file-name.pcap
Voila, we can now open the *.pcap file with Wireshark
For future reference, Microsoft has an amazing helper on how to troubleshoot vnet integration here